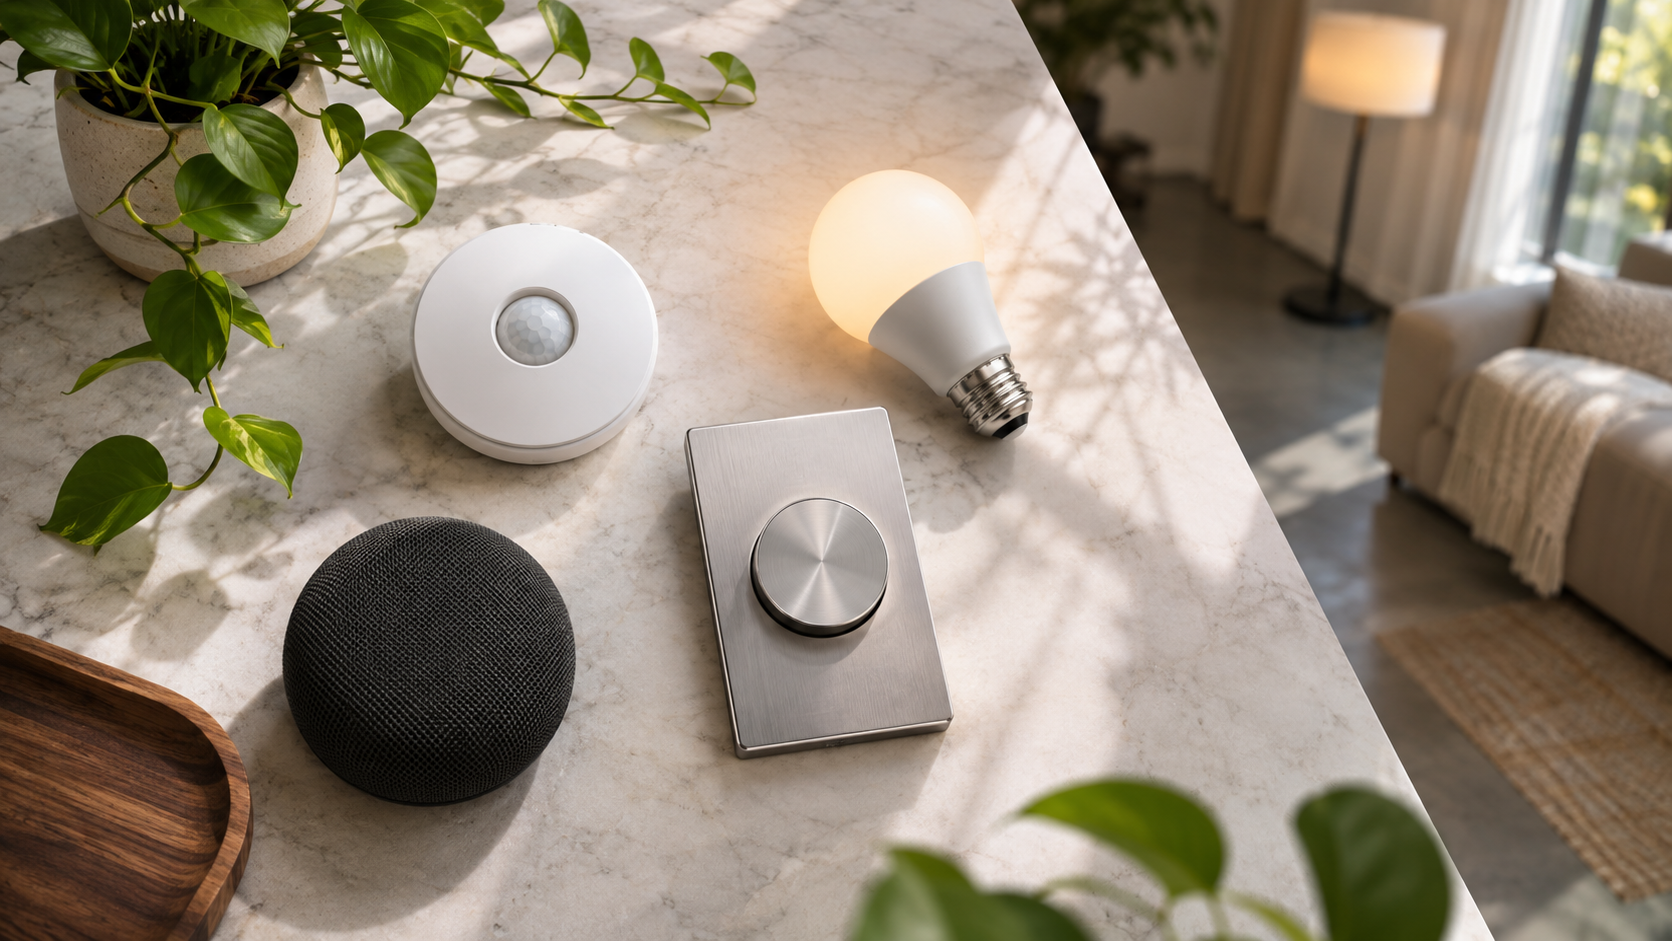
Yes, daylight sensors can automatically dim indoor lights when they are connected to compatible lighting controls. This process is commonly called daylight harvesting or daylight-responsive lighting. A sensor measures the amount of natural light in a room, and a lighting controller adjusts dimmable fixtures so the space maintains a chosen brightness level.
The result is not simply “lights on” or “lights off.” In a well-designed system, electric lights gradually reduce their output when sunlight provides enough illumination, then increase again as clouds pass or evening arrives. The system may also combine daylight data with occupancy sensors, schedules, wall controls, smart-home platforms, and scene settings.
What is a daylight sensor?
A daylight sensor is a light-measuring device that detects the brightness available in a room or near a window. It usually uses a photodiode or similar light-sensitive component to estimate illuminance. Depending on the design, the sensor can measure:
- Daylight near a window: useful for estimating how much sunlight enters the room.
- Light at a work surface: useful when the goal is to maintain a particular reading or task-lighting level.
- General room brightness: useful for residential scenes and basic automatic dimming.
A complete daylight-responsive lighting system normally includes four parts: a sensor, dimmable light fixtures, a controller or lighting gateway, and a configured target level. The sensor alone cannot dim a lamp unless the lamp or its control system is designed to receive and interpret that information.
How can daylight sensors automatically dim indoor lights?
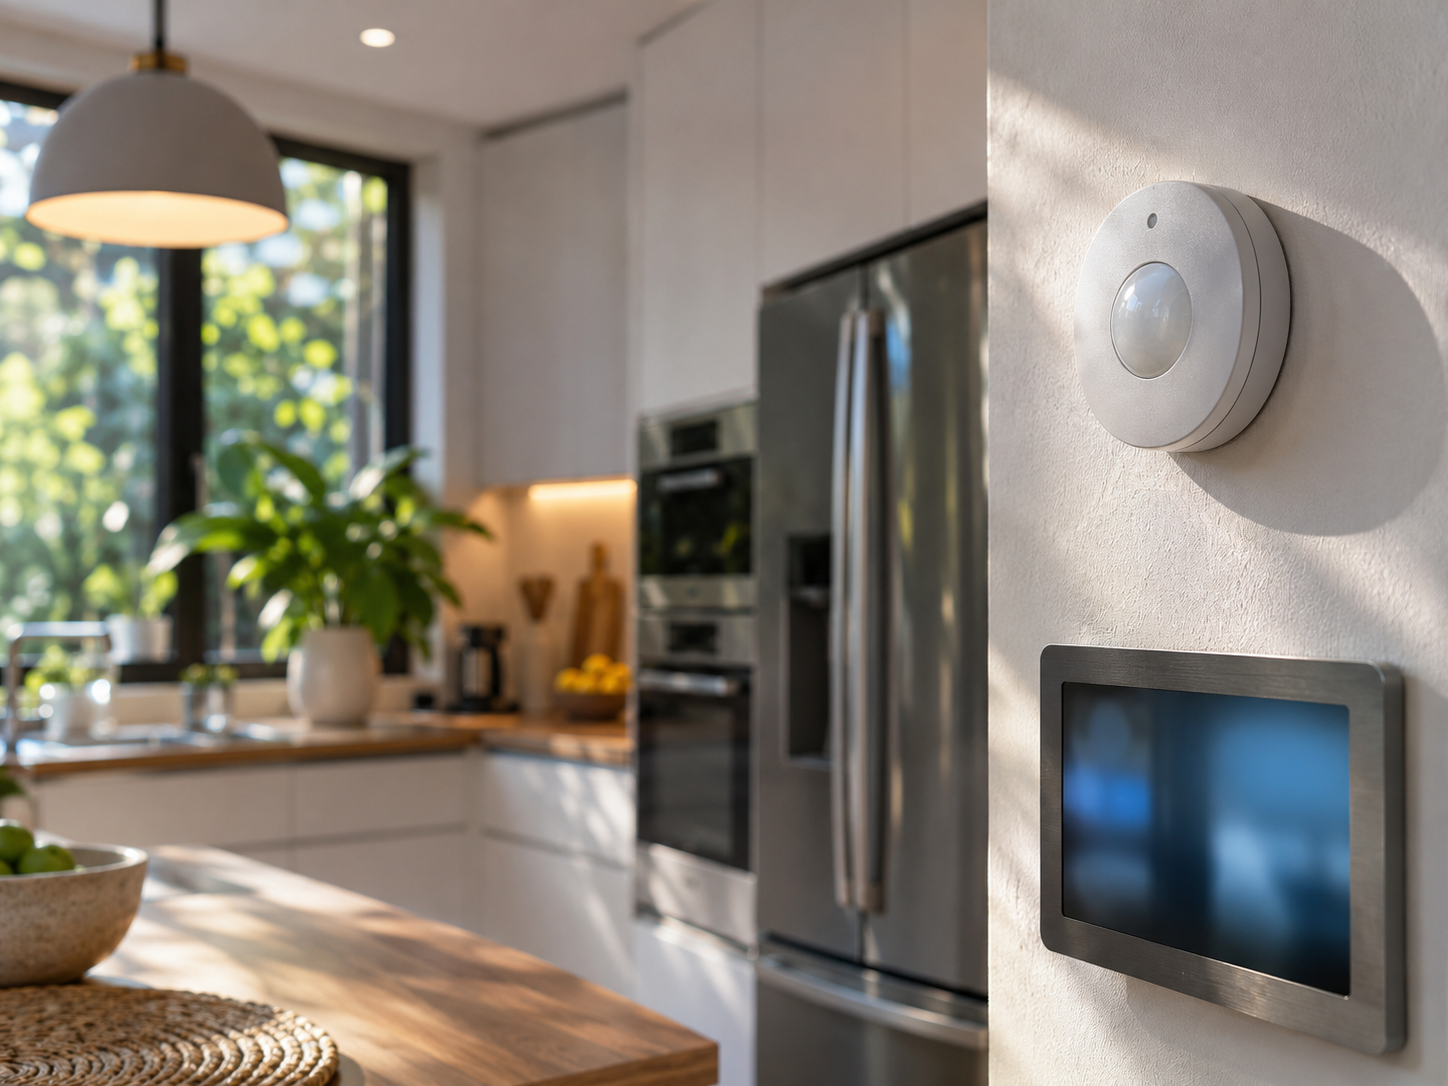
The control process is relatively straightforward:
- Measure available light. The sensor detects natural and, depending on its location, artificial light.
- Compare the reading with a target. The controller checks whether the room is brighter or darker than the selected level.
- Adjust dimming output. If sunlight increases, the system lowers the light output. If daylight fades, it raises output within the configured limits.
- Apply safeguards and timing. Good systems use gradual transitions, delay periods, and minimum output settings to prevent distracting flicker or rapid changes.
For example, a home office beside a large window may use a ceiling fixture connected to a dimmable driver. On a bright morning, the ceiling fixture could operate at a low setting. When clouds cover the sun, it could increase output to keep the desk area usable. At sunset, the lights may slowly become brighter until the evening schedule takes over.
Open-loop and closed-loop daylight control
There are two common approaches to sensing daylight.
Open-loop control
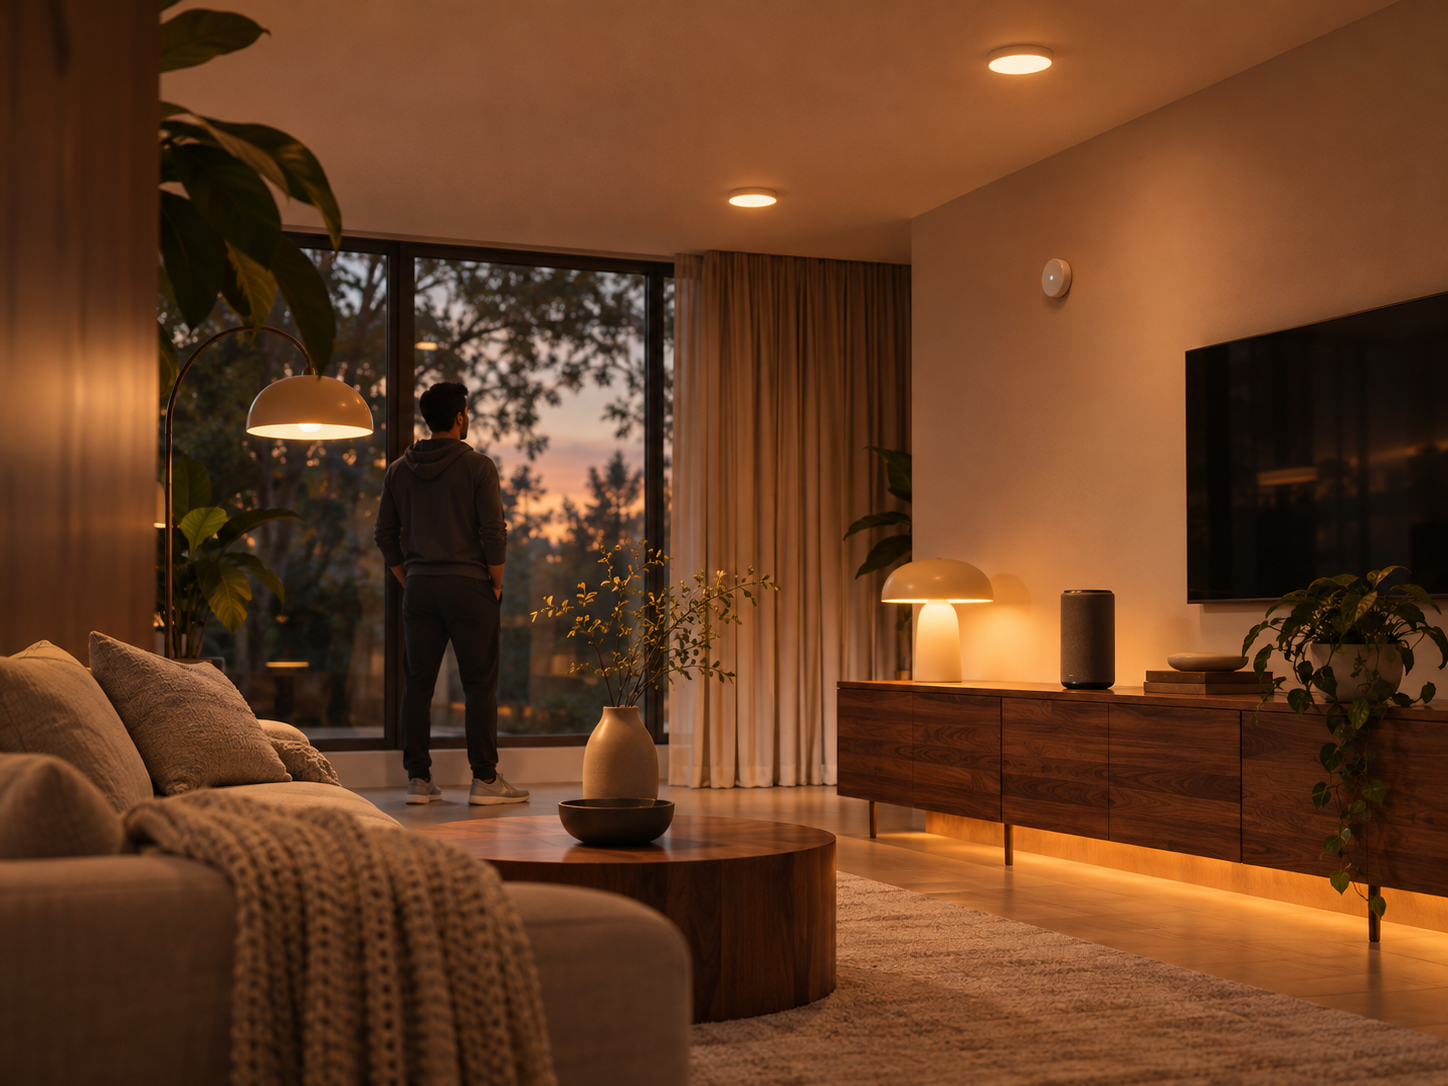
An open-loop sensor primarily measures daylight entering from outside. It may be positioned near a window or aimed toward the sky, while avoiding direct measurement of the electric lights it controls. The controller estimates how much natural light is available and adjusts the fixtures accordingly.
This approach can work well in rooms with predictable window exposure, but it may need careful calibration. Curtains, exterior shades, weather conditions, and nearby buildings can change the relationship between the sensor reading and the light level at the desk or floor.
Closed-loop control
A closed-loop sensor measures the combined light reflected within the room. It observes the result of both daylight and electric lighting, then adjusts the fixtures to approach the target level.
Closed-loop control can be useful for maintaining light at a task area, but sensor placement matters. A sensor aimed directly at a bright window may overestimate useful room illumination. One placed too close to a fixture may underestimate the amount of light needed elsewhere. Furniture, wall colors, screens, and room layout can also influence readings.
What equipment is required?
Automatic dimming requires compatibility across the lighting system. Common components include:
- Dimmable luminaires or bulbs: A basic on/off smart bulb cannot provide continuous dimming.
- A compatible dimmer or driver: The fixture may use a proprietary control method, 0–10 V, DALI, Zigbee, Bluetooth Mesh, Wi-Fi, or another system.
- A daylight sensor: This may be a ceiling-mounted device, a wall sensor, or a device integrated into a lighting control module.
- A controller: The controller translates sensor readings into dimming commands and may connect to an app or home-automation hub.
- Configuration software: Settings can include target brightness, minimum output, transition speed, schedules, and sensor zones.
Wireless systems can be practical for retrofits because they may reduce the need for new control wiring. Wired systems can offer predictable communication and may be preferred in larger or professionally designed installations. Bluetooth SIG describes networked lighting control as one way to coordinate lighting devices and support healthier indoor environments in its article “Creating Healthier Spaces with Bluetooth Networked Lighting Control”.
Practical steps for setting up automatic dimming
1. Identify the room’s daylight pattern
Observe the room during morning, midday, afternoon, and evening. Note whether direct sun creates glare, whether trees or neighboring buildings block light, and whether blinds are usually open. A room with strong seasonal variation may need more careful settings than a consistently shaded room.
2. Separate lighting zones
Fixtures near windows generally need different control from fixtures deeper inside the room. If all lights are placed in one zone, the system may dim the window-side lights appropriately while leaving the back of the room too dark, or brighten every fixture when only the interior area needs more output.
3. Confirm dimming compatibility
Check the specifications for the bulb, fixture, dimmer, hub, and sensor. A smart bulb may support app-based dimming but not accept commands from a third-party daylight sensor. Likewise, a wall dimmer designed for one electrical load type may not be suitable for another.
4. Position and calibrate the sensor
Keep the sensor away from direct glare, heat sources, and obstructions. Follow the manufacturer’s placement instructions, then compare the system’s behavior with the actual brightness at the main task area. Calibration may involve setting a target illuminance, defining a minimum dim level, and limiting how quickly changes occur.
5. Add occupancy and schedule rules carefully
Daylight sensing answers “how much light is available?” An occupancy sensor answers “is anyone using the room?” Combining both can prevent lights from operating in an empty space. Schedules can also set evening scenes or switch the system to a warmer, lower setting before bedtime.
6. Test different weather and window conditions
Test the room on a sunny day, an overcast day, and after sunset. Close and open blinds if they are part of the normal routine. Watch for rapid cycling, noticeable jumps in brightness, or a room that remains uncomfortable despite technically responding to the sensor.
Smart lighting and atmosphere
Daylight automation does more than reduce manual adjustments. It can support different lighting scenes for work, meals, relaxation, and entertainment. A minimalist desk setup may use brighter, neutral task lighting during working hours and lower ambient light later. In a bedroom, daylight control can be paired with a gradual morning scene rather than an abrupt full-brightness switch-on.
Color temperature is a separate feature from daylight sensing. A sensor may control brightness while a schedule or scene controls whether the lamps appear warm or cool. Some systems coordinate both, but users should check whether the fixtures support tunable white lighting and whether the selected controls are compatible.
Design affects performance as well. Glossy surfaces can create reflections, while dark walls and heavy furniture absorb light. A daylight system should be judged by visual comfort and task performance, not only by the sensor’s numerical reading. Signify’s discussion of hospitality and workspace design, “Hospitality and Workspace Design”, illustrates why lighting is part of a broader interior environment that includes layout, materials, and user experience.
How this fits into a wider smart home
Daylight dimming can serve as one layer in a broader smart-home system:
- Smart home security systems: Occupancy-aware lighting can make routines look more natural, but lighting should not be treated as a complete security measure. Motion alerts, locks, cameras, and alarms have different roles.
- Smart thermostats and energy management: Reduced lighting output can lower lighting energy use, while blinds and thermostats may respond to solar heat. These systems should coordinate rather than repeatedly override one another.
- Home decor and furniture: Sensor placement and fixture position should work with the room’s design. Tall furniture or decorative shades can block readings.
- Eco-luxury sustainable goods: Durable fixtures, repairable components, efficient drivers, and replaceable sensors may offer a more sustainable approach than replacing an entire system when one part fails.
- Smart bedroom gadgets: Dimming and warmer scenes can support a calmer evening environment, although lighting controls do not diagnose or treat sleep problems.
- Kitchen appliances and organization: Under-cabinet lighting can use occupancy or proximity sensors, while daylight control may manage ceiling fixtures near windows. Keep sensors away from steam, grease, and direct heat.
- Robot vacuums and cleaners: Lighting automation can improve visibility for people, but it does not necessarily help a robot manage. Check the robot’s own navigation and low-light specifications.
- Air purifiers and home wellness: These products can be coordinated through schedules, but a lighting sensor does not measure air quality, allergens, or ventilation.
Some newer lighting concepts focus on spatial control, treating lights as individually addressable elements rather than a single group. Stuff’s report on Philips Hue SpatialAware discusses this kind of room-aware lighting approach. Spatial control can be useful for scenes and zoning, but it does not remove the need for correct sensor placement or compatible dimming hardware.
Advantages and disadvantages
Potential advantages
- Less manual adjustment during changing weather and daylight conditions.
- More consistent illumination for desks, kitchen worktops, and other tasks.
- Potentially lower lighting energy use when daylight is sufficient.
- Better coordination between lighting zones, occupancy, and schedules.
- A quieter visual atmosphere when lights transition gradually instead of switching abruptly.
Potential disadvantages
- Upfront costs may be higher than using ordinary switches and bulbs.
- Compatibility between sensors, fixtures, dimmers, hubs, and apps can be confusing.
- Poor placement or calibration can cause over-dimming, under-lighting, or frequent changes.
- Wireless devices may depend on batteries, network availability, firmware, or a cloud service.
- Direct sun, reflections, blinds, furniture changes, and seasonal conditions can affect readings.
- Some users may prefer manual control and find automatic changes distracting.
Limitations to understand
Automatic dimming does not guarantee that every part of a room will be equally bright. Sensors measure light at particular locations, while people use rooms across a wider area. A system also cannot correct glare caused by direct sunlight; blinds, shades, window treatments, or furniture may be needed.
Daylight controls are not a substitute for suitable electrical design. Very low dimming levels can cause flicker or color changes with some fixtures. If lights behave erratically, the cause may be an incompatible dimmer, driver, bulb, or control protocol rather than the sensor itself.
Cloud-connected lighting may continue to operate locally, but this varies by product. Before buying, check what happens during an internet outage, whether a physical switch remains available, how data is handled, and whether the system can be maintained if the manufacturer changes its app or service.
Concise Q&A
Can a daylight sensor dim ordinary bulbs?
Usually not by itself. The bulbs or fixtures need to be dimmable, and the sensor must connect to a compatible controller or dimmer.
Will the lights turn off when the sun is bright?
They can, if the system is configured to switch off below a minimum-use threshold. Many systems instead maintain a low output so the room does not become uncomfortable when a cloud passes.
Can smart bulbs use a separate daylight sensor?
Some can, particularly when the bulb and sensor share a supported platform or wireless protocol. Others only support schedules, app controls, or their own brand-specific sensors.
Is daylight dimming the same as motion sensing?
No. Daylight sensors measure brightness. Motion or occupancy sensors detect activity or presence. They can be used together but perform different jobs.
Does automatic dimming always save money?
Not necessarily. Savings depend on operating hours, fixture efficiency, target settings, daylight availability, and how the system is used. A poorly configured system can provide little benefit or create dissatisfaction.
Bottom line
Can daylight sensors automatically dim indoor lights? Yes, when the sensor, dimmable fixture, controller, and configuration are compatible. The best results come from dividing the room into sensible lighting zones, placing sensors carefully, setting gradual transitions, and testing the system under different daylight conditions.
For a single room, a compatible smart dimmer and sensor may be enough. For a larger home or a renovation, a lighting professional can help with electrical compatibility, sensor placement, glare control, and local wiring requirements. Lighting automation involves mains electricity in many installations; follow product instructions and local regulations, and use a qualified electrician for work that requires opening electrical enclosures or modifying fixed wiring. This article is general information, not electrical, medical, security, or energy-saving advice for a specific property.