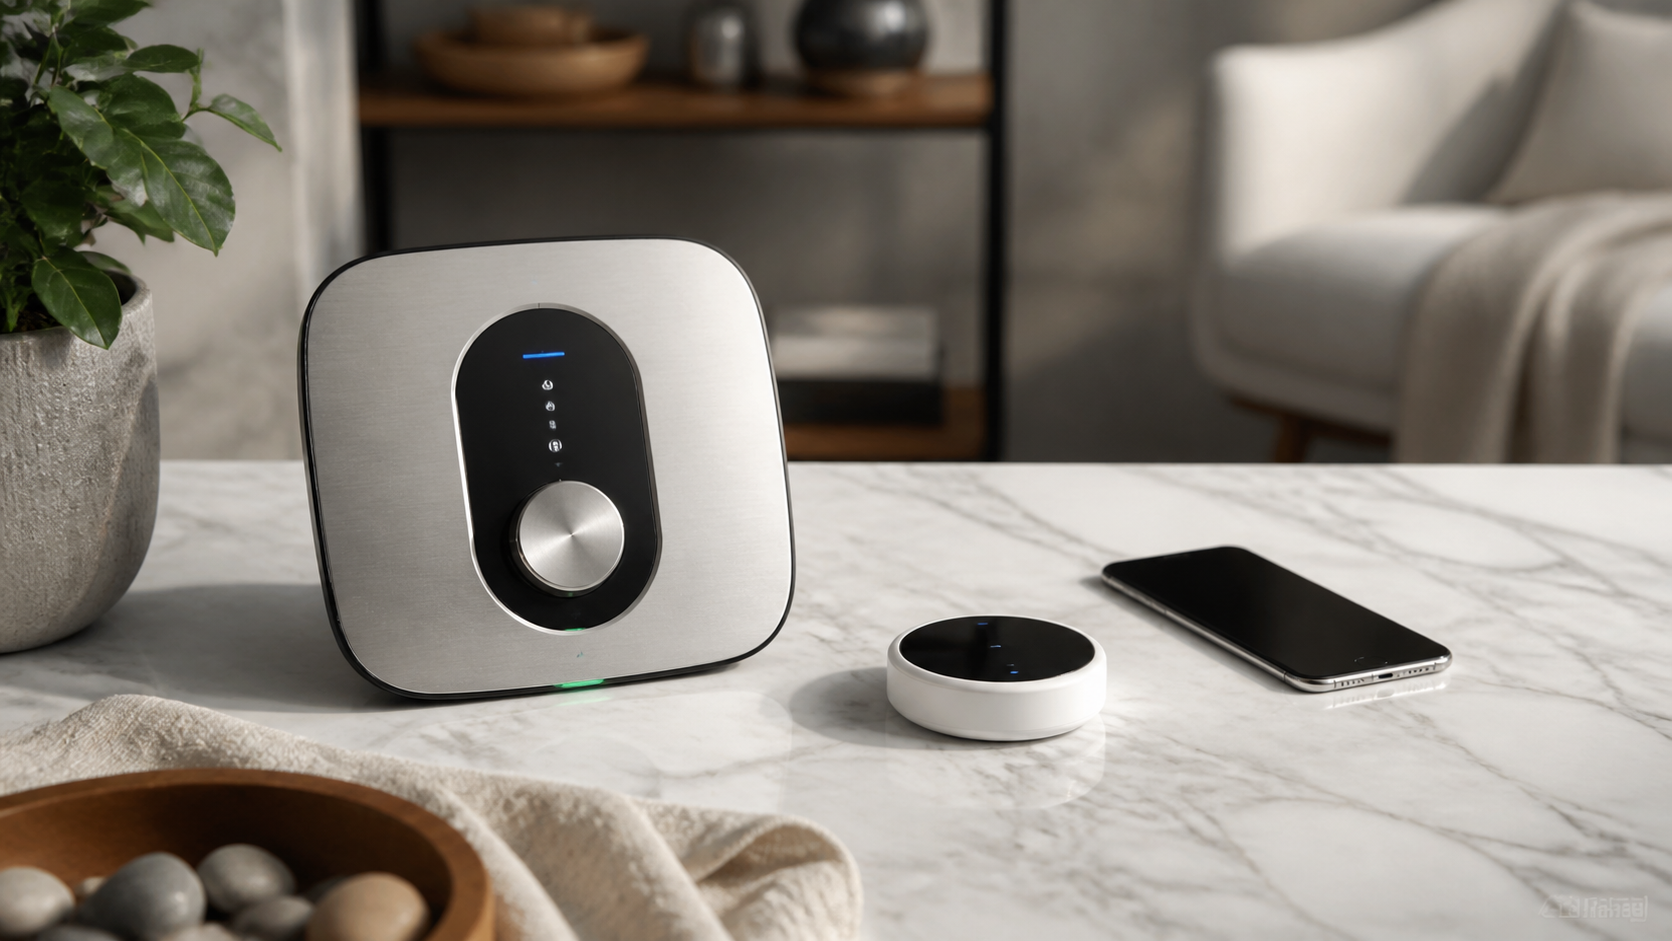
Learning how to install smart sprinkler controller hardware starts with documenting the old wiring, mounting the Rachio 3, and assigning each watering zone in the Rachio app. The job can take 45 to 90 minutes when an existing low-voltage controller and healthy valve wiring are already in place. A fresh installation, damaged field wires, or a pump-start relay can turn it into a job for an irrigation technician.
“A smart irrigation controller is only as smart as its zone map. Clear labels and correct plant settings matter more than an elaborate app.”
What is a smart irrigation controller?
A smart irrigation controller is a connected replacement for a traditional sprinkler timer. It sends low-voltage power to irrigation valves by zone, but it can also adjust watering according to local weather, soil, plant type, slope, sun exposure, and seasonal demand. Most models connect through 2.4 GHz Wi-Fi and provide iOS and Android apps.
The controller does not usually measure soil moisture by itself. Instead, it calculates an estimated watering need from the information you enter and weather data it receives. Optional rain, soil, and flow sensors can provide direct data. This distinction matters: a correctly configured controller can reduce needless watering, while careless zone settings can leave a lawn wet and thirsty shrubs dry.
Smart sprinkler controller prices and options in 2026
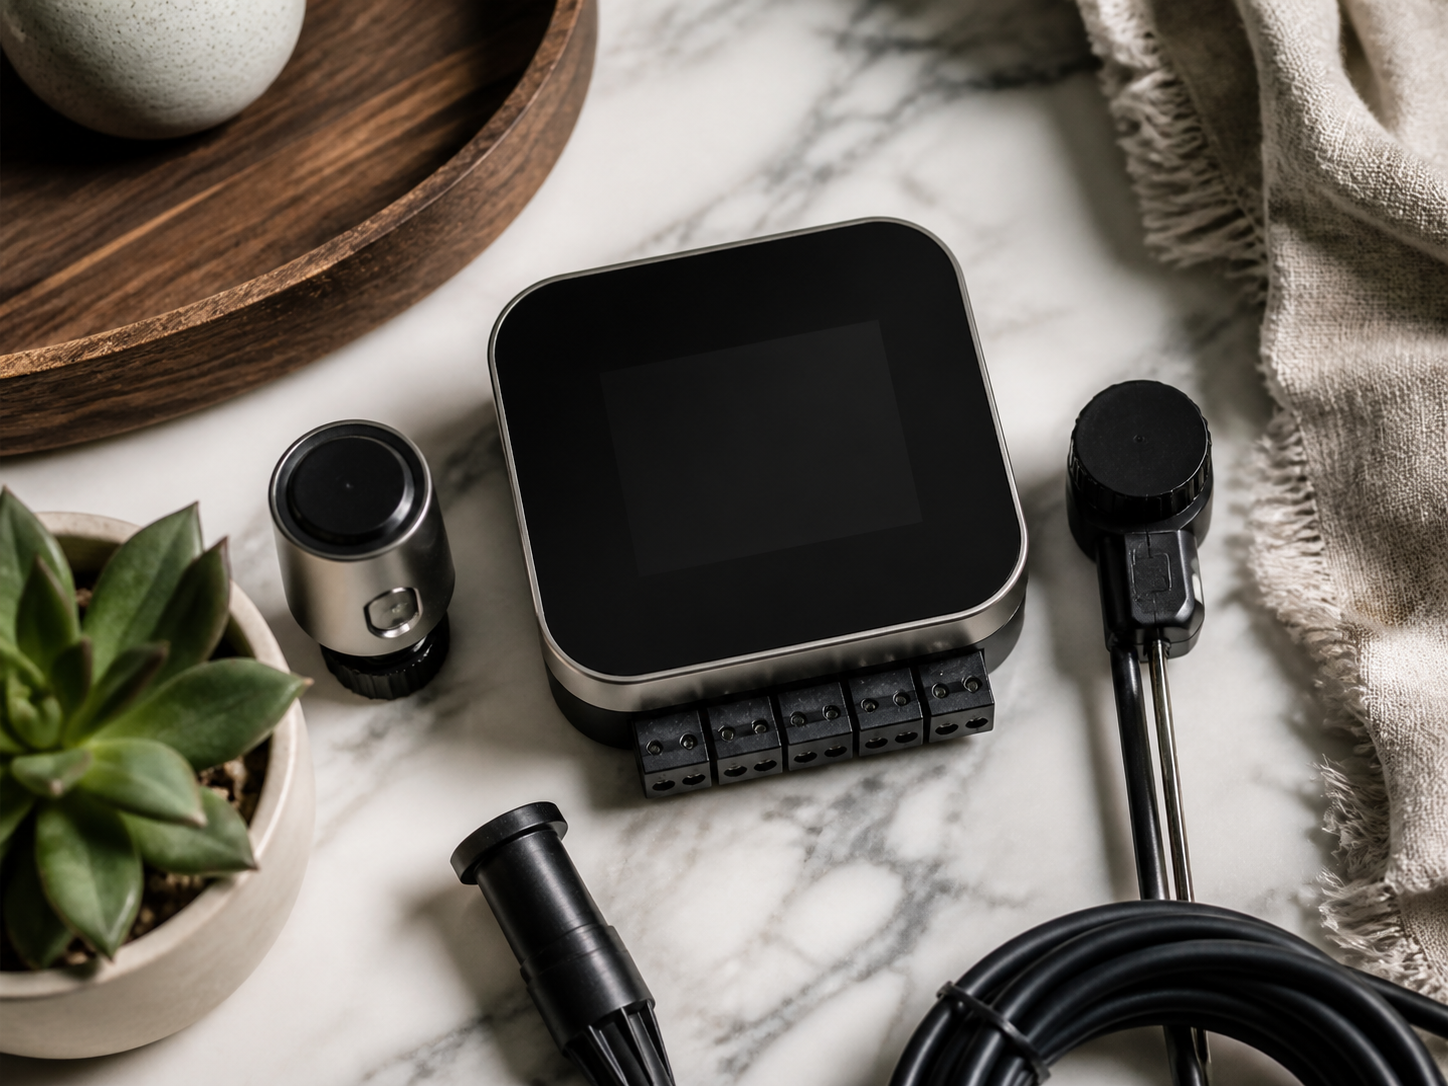
Retail prices change with promotions, so confirm the current listing before ordering. These typical US prices provide a useful planning range.
| Controller | Typical price | Zones | Best fit | Where to buy |
|---|---|---|---|---|
| Rachio 3 | $199.99 for 8-zone | 8 or 16 | Polished app and detailed scheduling | Rachio, Amazon, Home Depot |
| Orbit B-hyve XR | About $149.99 | 8 or 16 | Indoor or outdoor mounting | Orbit, Lowe’s, Home Depot |
| Rain Bird ARC8 | About $149 | 8 | Owners who prefer a familiar irrigation brand | Rain Bird dealers, Amazon |
| Wyze Sprinkler Controller | About $69.98 | 8 | Low-cost app control | Wyze, Amazon |
| Moen Smart Sprinkler Controller | About $180 | 8 or 16 | Homes adding compatible wireless soil sensors | Moen, Amazon, plumbing retailers |
Budget another $10 to $30 for anchors, wire labels, waterproof connectors, and a suitable power receptacle cover. Professional replacement commonly costs about $200 to $500 including labor, depending on local rates and wiring condition. A new multi-zone system or buried wire repair can cost more.
Before you remove the old sprinkler timer
First, confirm that the new controller supports the number of active zones. An eight-zone controller cannot independently run a ninth valve. Check whether the old system uses a master valve, pump-start relay, rain sensor, or proprietary two-wire arrangement. Common consumer controllers suit conventional multi-wire systems, not every commercial or decoder-based installation.
Inspect the installation location. An indoor-only controller needs shelter from rain unless it is placed in a manufacturer-approved outdoor enclosure. Rachio’s enclosure often sells for about $39.99, while the Orbit B-hyve XR includes an outdoor-rated cabinet. An Orbit B-hyve XR includes an outdoor-rated cabinet, but its receptacle and cable routing still need to meet local electrical requirements.
Finally, test every existing zone from the old timer. Write down which station runs the front lawn, side beds, drip line, trees, and backyard. If a zone already fails, the new controller may not cure it. A bad solenoid, severed cable, closed valve, or plumbing fault requires separate repair.
Tools and materials
- Smart irrigation controller sized for every zone
- Phone with the controller app installed
- Screwdrivers and a drill appropriate for the wall
- Wall anchors and mounting screws
- Masking tape or numbered wire labels
- Phone camera for documenting terminals
- Wire stripper for damaged low-voltage ends
- Non-contact voltage tester for checking the surrounding electrical area
The valve terminals are generally low voltage, but the transformer plugs into household power. Do not open mains-voltage junction boxes or alter fixed electrical wiring unless you are qualified and local rules allow it. Call an electrician when a safe receptacle is not available.
How to install Rachio smart sprinkler controller hardware
1. Save the current schedule and photograph the terminals
Take a clear photo before disconnecting anything. Capture the zone numbers, common terminal, sensor wires, and any master-valve or pump connection. Save run times and watering days as screenshots or notes. This record is your fastest route back when a wire label falls off.
2. Turn off and unplug the old controller
Stop any active watering cycle, unplug the transformer, and verify that the display is dark. Some controllers have a backup battery, so remove it as directed by the manual. Keep the low-voltage irrigation wires separated from the power cable.
3. Label and disconnect every field wire
Mark each station wire as Z1, Z2, and so on. Label the common wire C. Common wires are often white, but color is not proof. A master valve may be marked M, MV, or P/MV. Sensor terminals vary by manufacturer. Loosen each terminal and remove the conductors without cutting them shorter.
4. Remove the old box and mount the new controller
Unscrew the old enclosure and check the wall for moisture or damage. Hold the mounting template level, mark the holes, and use anchors rated for the wall material. Leave enough clearance to open the cover and reach terminal blocks. In a utility room, align the box with adjacent panels for a tidier result rather than mounting it at an arbitrary angle.
5. Connect the common and zone wires
Insert the common conductor into C or COM. Connect each labeled zone to its matching numbered terminal. Attach a master valve only to the terminal specified by the manufacturer. Copper should sit fully inside the clamp, with no loose strands and no bare section touching a neighboring terminal.
If a wire end is oxidized, trim only the damaged portion and strip the length stated in the manual. Do not join buried irrigation cable with ordinary indoor wire nuts. Use connectors specifically rated for direct burial and wet locations.
6. Connect compatible sensors
Follow the controller diagram for rain and flow sensors. Some units require removal of a factory jumper before a wired rain sensor works. Wireless soil sensors, such as Moen Smart Wireless Soil Sensors, pair through the app rather than the valve terminal strip. Compatibility is brand- and model-specific, so never assume an old accessory will transfer.
7. Restore power and join Wi-Fi
Plug the supplied transformer into a safe receptacle. Open the manufacturer’s app, choose its add-device command, and follow the on-screen pairing prompts. Controllers normally require a 2.4 GHz network, though a dual-band router can still work when it presents a compatible connection. Give the controller a clear name such as “Garden Irrigation,” not a vague default device name.
8. Build an accurate zone map
Run each station for one or two minutes and confirm its real location. Name zones by place and planting, such as “Front Lawn Rotors” or “Patio Drip Planters.” Enter sprinkler type, soil, slope, shade, and vegetation carefully. Drip lines and spray heads should not share the same assumptions because their application rates differ.
9. Set limits before enabling automatic schedules
Enter allowed watering days, local restrictions, freeze skips, and a maximum run time. Start conservatively. Watch the first full cycle for runoff, broken heads, clogged emitters, and water hitting walls or paving. Adjust cycle-and-soak settings on slopes or compacted soil.
Installation choices compared
| Approach | Likely cost | Time | Choose it when |
|---|---|---|---|
| DIY controller swap | $70 to $230 plus small supplies | 45 to 90 minutes | Existing wiring works and a safe outlet is present |
| Irrigation technician | About $200 to $500 total | Usually one visit | Labels are missing, valves fail, or wiring needs diagnosis |
| Electrician plus irrigation technician | $350 and up | Varies | A receptacle or fixed power wiring must be added |
Common setup mistakes
- Skipping the terminal photo: wire colors can be inconsistent, especially after prior repairs.
- Mixing drip and spray behavior: they need different run times and precipitation settings.
- Ignoring Wi-Fi signal: masonry walls and metal enclosures can weaken 2.4 GHz coverage.
- Trusting automation immediately: observe several cycles before leaving the system unattended.
- Hiding an indoor controller outside: a roof overhang is not the same as a rated enclosure.
Which controller should you choose?
Choose the Rachio 3 when app clarity and detailed zone controls are priorities. The Orbit B-hyve XR makes sense for an exposed mounting location and offers physical controls on the unit. Rain Bird’s ARC8 will feel familiar to owners and technicians already comfortable with the brand. Wyze is appealing for inexpensive app control, but buyers should compare which advanced weather features require a paid plan. Moen is worth considering when room-by-room-style soil sensing for different garden areas is central to the plan.
Questions and answers
Can I install a smart irrigation controller myself?
Yes, if you are replacing a conventional low-voltage timer, all zones currently work, and the new unit can plug into an existing safe receptacle. Stop if fixed mains wiring, a pump circuit, damaged conductors, or an unfamiliar two-wire system is involved.
Do I need a plumber or electrician?
A controller-only swap usually needs neither. An irrigation technician is the right first call for valve, solenoid, field-wire, or watering problems. An electrician is appropriate for receptacles and household-voltage wiring.
Will a smart controller work without Wi-Fi?
Basic scheduled watering may continue after setup on many models, but remote control, weather updates, alerts, and schedule changes can be limited. Check the exact offline behavior in the model’s manual before purchase.
How many zones do I need?
Count the numbered station wires connected to the old controller, then allow room for planned additions. Buying 16 zones instead of eight can be sensible when a garden expansion is likely.
Does a smart controller save water?
It can reduce watering during rain, cool periods, or seasonal changes, but savings depend on correct zone data and sound irrigation hardware. Leaking valves and broken heads can waste water regardless of the controller.
Final advice
The cleanest way to approach how to install smart sprinkler controller equipment is to treat documentation as part of the installation. Photograph first, label every conductor, test each zone, and enter precise garden details. The hardware swap is often simple; the thoughtful work is building a zone map that reflects how the home’s plants actually use water.
For most eight-zone homes, expect a hardware budget of $70 to $200 and about an hour of careful work. If the existing system has mystery wires, failed valves, or an unsafe power source, professional diagnosis is money well spent. A tidy controller box should make outdoor care quieter and more predictable, not introduce a new set of hidden faults.