Smart lights can change color, brightness, and timing, but a scene may still feel wrong if it treats a room as a collection of identical bulbs. A lamp beside a reading chair has a different job from a ceiling light over a dining table. Room mapping helps a smart-lighting system account for those differences, so a scene can respond to where lights are located and what parts of the room they serve.
In this guide, we explain how room mapping improves lighting scenes, what it can and cannot do, and how to set up a useful map without turning a simple room upgrade into a complicated project. The advice draws on three named sources: the Bluetooth SIG’s discussion of networked lighting control, Signify’s hospitality and workspace design material, and Stuff’s reporting on Philips Hue SpatialAware. These sources offer different perspectives—connected-lighting infrastructure, design practice, and a consumer smart-lighting feature. Product capabilities vary, so check your own system’s documentation before buying or configuring equipment.
What is room mapping in smart lighting?
Room mapping is the process of assigning smart lights and controls to meaningful locations or zones in a space. Depending on the system, a map may be a simple room-and-device list, a floor-plan-style layout, or a model that includes approximate positions and relationships among lights. The term does not always mean that a system scans a room or measures every fixture. Some products rely on a person to place lights on a diagram; others use supported sensors or configuration tools.
A useful map might label a ceiling fixture as “dining table,” a floor lamp as “reading corner,” and a light strip as “TV wall.” It can also identify zones such as a kitchen worktop, hallway, or bedside area. The point is not cartographic precision for its own sake. It is to give scenes and controls enough context to address the right lights for the right task.
How does room mapping improve lighting scenes?
It connects a scene to the room’s purpose
A scene is a saved combination of settings, such as brightness, color, and which lights are on. Without useful grouping, a “Dinner” scene might turn on every bulb in a combined kitchen and living room. With zones, the same scene can favor the dining area, leave a nearby reading lamp at a lower level, and avoid changing lights that are not relevant.
That makes scenes easier to understand and repeat. Instead of remembering which individual devices to adjust, you can choose a scene by activity—cooking, relaxing, cleaning, or getting ready for bed. The result depends on how carefully the map and scene are configured; a map does not automatically know what you are doing.
It helps balance light across different parts of a room
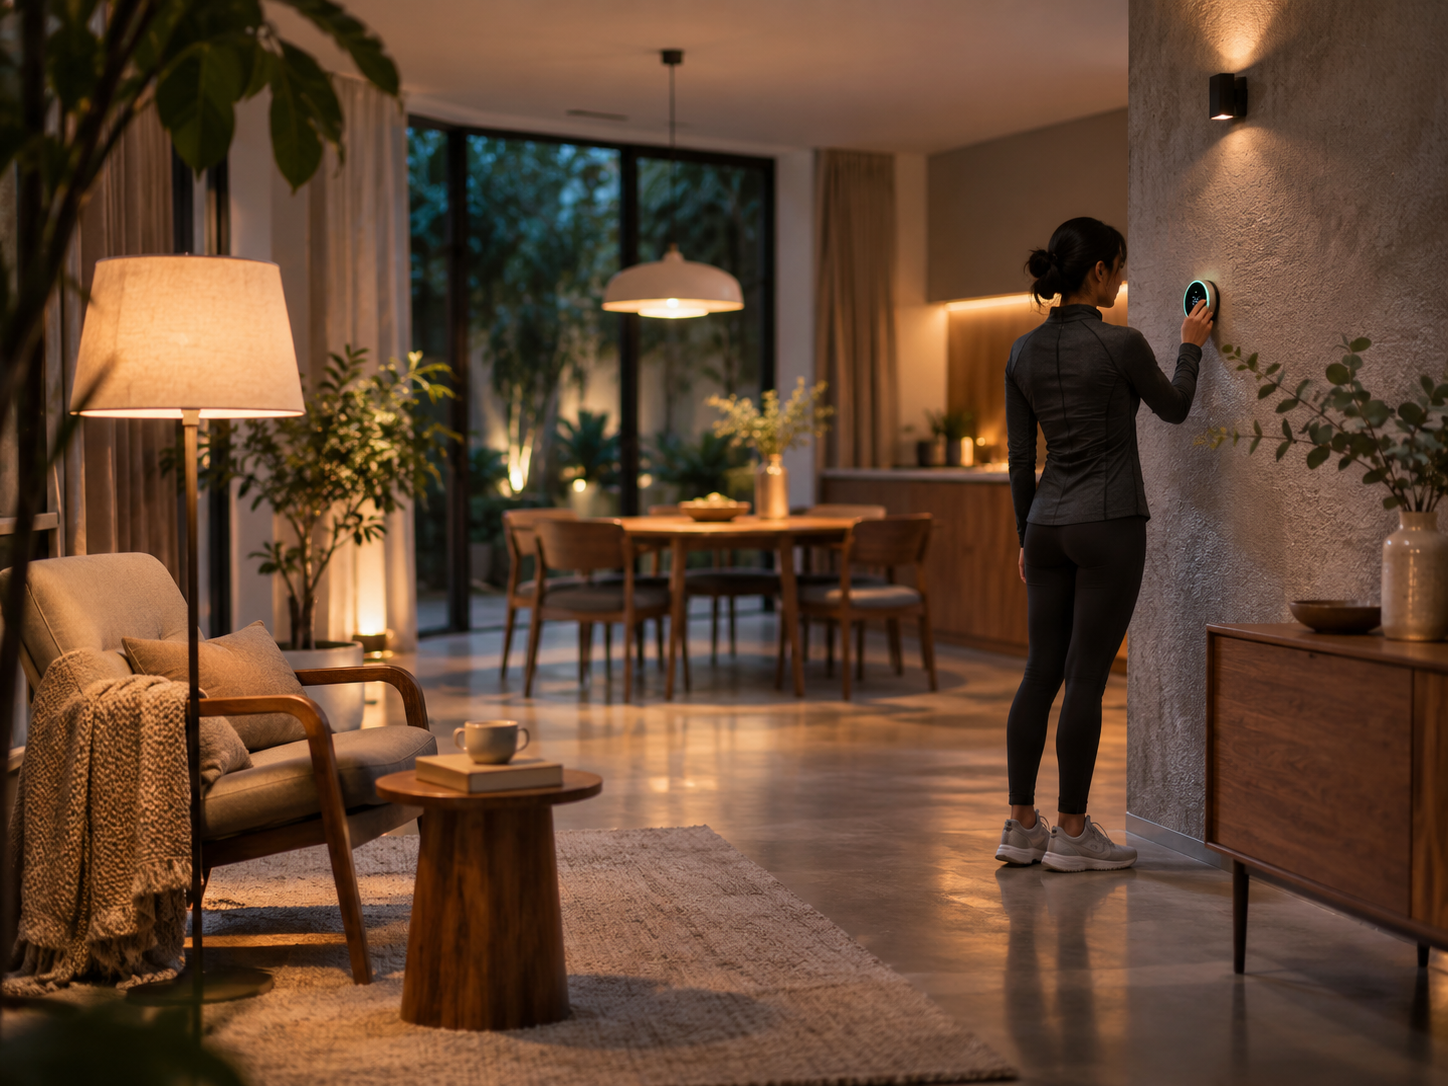
Rooms have surfaces, furniture, and sightlines that affect how lighting feels. A light aimed at a wall can create a different impression from a ceiling lamp, even if both use the same nominal color and brightness setting. A spatially organized setup lets you build a scene from several roles: general illumination, task lighting, and softer accent light.
This is where room mapping can support atmosphere as well as utility. A living-room scene might keep a floor lamp near a sofa available while reducing the ceiling light. A work scene might prioritize a desk lamp and nearby ambient lighting. The map makes those decisions easier to manage, but it cannot guarantee that the light is comfortable or suitable for every person. Placement, fixture design, glare, wall color, and personal preference still matter.
It can make spatial effects more coherent
Some newer systems use a room layout to coordinate color effects across multiple lights. In its coverage of Philips Hue SpatialAware, Stuff describes the feature as treating smart lights in relation to their position, with an analogy to how Dolby Atmos uses speaker placement. The comparison is useful for understanding the idea: location can affect how a coordinated effect is distributed.
It should not be taken to mean that lighting and surround sound work identically. A light system has its own constraints, and the effect depends on compatible hardware, configuration, and the scene being used. A layout-aware color transition may look more intentional than one that treats every bulb as interchangeable, but not every scene needs a spatial effect. For reading, cooking, or nighttime navigation, clear and comfortable illumination is usually more important than a dramatic color sequence.
It gives controls a clearer structure
A good room map can make an app, wall control, or voice command easier to use. “Turn off the kitchen” is more dependable when the devices assigned to the kitchen are correct. Likewise, a button for “Bedtime” can act on the bedroom zone rather than switching off lights in an adjoining hallway that someone still needs.
This organization can also help when a home changes. If you move a lamp, replace a fixture, or rearrange furniture, updating the device’s location or zone can keep scenes understandable. Without maintenance, a map can become misleading: a light assigned to a desk may now be over a dining table, and the scene will continue to follow the old arrangement.
Room mapping and thoughtful lighting design
Smart controls work best when they build on a sensible lighting plan. The Bluetooth SIG’s article, “Creating Healthier Spaces with Bluetooth Networked Lighting Control,” discusses networked lighting control in the context of spaces and occupant needs. It is a useful reference for understanding why connected control and thoughtful lighting design are related, but it is not proof that any particular smart bulb will produce a health benefit. The practical takeaway is narrower: control systems can provide ways to manage lighting across a space, while outcomes depend on the design and use of the installation.
Similarly, Signify’s hospitality and workspace design material provides a commercial-design perspective on lighting in environments used for work and hospitality. Those settings are not identical to a home, but they underline a useful principle: lighting should be considered in relation to activities and the space, not only as a list of fixtures. At home, room mapping is one practical way to translate that principle into scenes and controls.
Practical steps for mapping a room
1. Start with activities, not effects
Write down what happens in the room. A kitchen may need food preparation, dining, and late-night access. A bedroom may need getting dressed, winding down, and safe movement after lights-out. This list helps you decide which zones and scenes are worth creating. Begin with a few useful scenes rather than trying to automate every possible mood.
2. Identify the lights and their roles
List each smart fixture or bulb, then note its physical location and purpose. For example: “ceiling light—general kitchen illumination,” “under-cabinet strip—counter task light,” and “pendant—table.” If two lights serve the same area, group them when that makes control simpler. Keep lights separate when they have distinct jobs or need to behave differently.
3. Use the system’s supported map or zones
Follow the app or hub instructions to assign lights to rooms and, where available, zones or positions. If the interface offers a floor-plan view, use approximate placement that reflects the real arrangement. Do not assume a diagram is a precise survey: many consumer maps are intended to organize devices, not measure distances or model every reflection and obstruction.
4. Build scenes around specific needs
Create a small set of names that are easy to remember, such as “Cook,” “Dinner,” “Relax,” and “Night path.” Decide which zones each scene should use and which it should leave alone. Then adjust brightness and color by eye in the actual room. A saved setting that looks good on a phone screen may feel too bright, too dim, or too colorful in person.
5. Test ordinary use, including transitions
Try each scene at the time and for the activity it is meant to support. Check whether controls affect only the intended lights, whether a transition is comfortable, and whether someone can still move around safely. Test voice commands or physical controls if you use them. Keep a dependable manual way to operate essential lights if the network or app is unavailable.
6. Revisit the map when the room changes
Update device names and positions after moving furniture or replacing fixtures. A robot vacuum, new desk, air purifier, or tall plant may change how a space is arranged, though these objects do not automatically improve a lighting map. Consider whether a lamp is now blocked, creates glare on a screen, or serves a different activity. Small corrections can keep scenes relevant without requiring a full redesign.
Room mapping across the smart home
Room maps can support coordination with other smart-home devices, but integrations differ by platform. For example, a bedroom scene might be included in a bedtime routine that also adjusts a thermostat or arms a security system. A kitchen routine could coordinate lights with an appliance notification, if the relevant products support that connection. These are possibilities, not guaranteed features. Confirm which devices, services, and automations are compatible before relying on them.
Energy use also deserves a realistic view. Turning off unneeded lights or using a suitable lower setting may reduce lighting demand, but the result depends on the fixtures, controls, habits, and how the rest of the home is powered. A map itself does not save energy. Nor does it replace sensible thermostat settings, efficient appliances, or good insulation.
Room-aware scenes can also fit with decor and furniture choices. A scene can emphasize a reading chair, desk, artwork, or kitchen island, but it cannot correct a poor fixture choice or a badly positioned lamp. For minimalist desk setups, keeping the task light separate from ambient room lighting can make controls simpler. In bedrooms, gradual or low-level scenes may be preferable to bright, abrupt changes, subject to individual needs and product behavior. Treat these as design options, not medical guidance.
Pros and cons
Potential advantages
- More relevant scenes: Lights can be grouped by activity and location rather than controlled as one undifferentiated set.
- Clearer control: Meaningful names and zones can make an app, switch, or routine easier to operate.
- More coherent effects: Systems that support spatial behavior can use approximate light positions when coordinating some color scenes.
- Room for adaptation: A maintained map can be revised as furniture, fixtures, and uses change.
Potential disadvantages
- Setup takes attention: Naming, assigning, and testing devices adds work, especially in a large or open-plan home.
- Maps can become outdated: A moved light or changed room layout may make old scenes confusing.
- Features are not universal: Position-aware effects may require particular devices, hubs, software, or ecosystems.
- Automation can add complexity: Too many scenes, overlapping routines, or poorly chosen voice names can make control less predictable.
Limitations and safety considerations
Room mapping does not measure visual comfort, guarantee uniform illumination, or understand a person’s task unless a system has relevant sensors and configured logic. App-based maps may be approximate, and some products use “room” simply as an organizational label. Compatibility and privacy practices differ among manufacturers; review device permissions and data policies, especially if a system uses sensors or cloud-connected services.
Do not rely on a smart scene as the only means of providing light for stairs, entrances, cooking, or other areas where visibility matters. Preserve accessible manual controls, test behavior during connectivity or power interruptions, and follow fixture and electrical instructions. If a lighting change affects a health condition, sleep routine, or accessibility need, seek advice from a qualified professional familiar with that situation. This article is general information, not medical, electrical, or security advice.
Q&A
Does room mapping require a floor plan?
No. Some systems use room names and device groups only. A visual plan may be available on other platforms, but it is not essential for creating useful zones and scenes.
Will room mapping make every scene look better?
No. It can help a scene reflect fixture locations and room zones, particularly when supported spatial features are used. A scene still depends on the lights, their placement, the settings, and your preferences.
Is room mapping the same as motion sensing?
No. Mapping organizes lights by room or position. Motion sensing detects activity when compatible sensors are present. A system may combine the two, but mapping alone does not detect occupancy.
What is the simplest place to begin?
Choose one room, identify two or three activities, group the lights by their roles, and make a small number of scenes. Test them in daily use and update the map if the room changes.
Bottom line
Room mapping improves smart-lighting scenes by giving a system useful context about where lights are and what they do. That can lead to more relevant zones, clearer controls, and more coordinated effects on compatible platforms. The most dependable approach is to start with real activities, map fixtures honestly, keep scenes simple, and test them in the room. A well-maintained map supports good lighting decisions; it does not replace them.