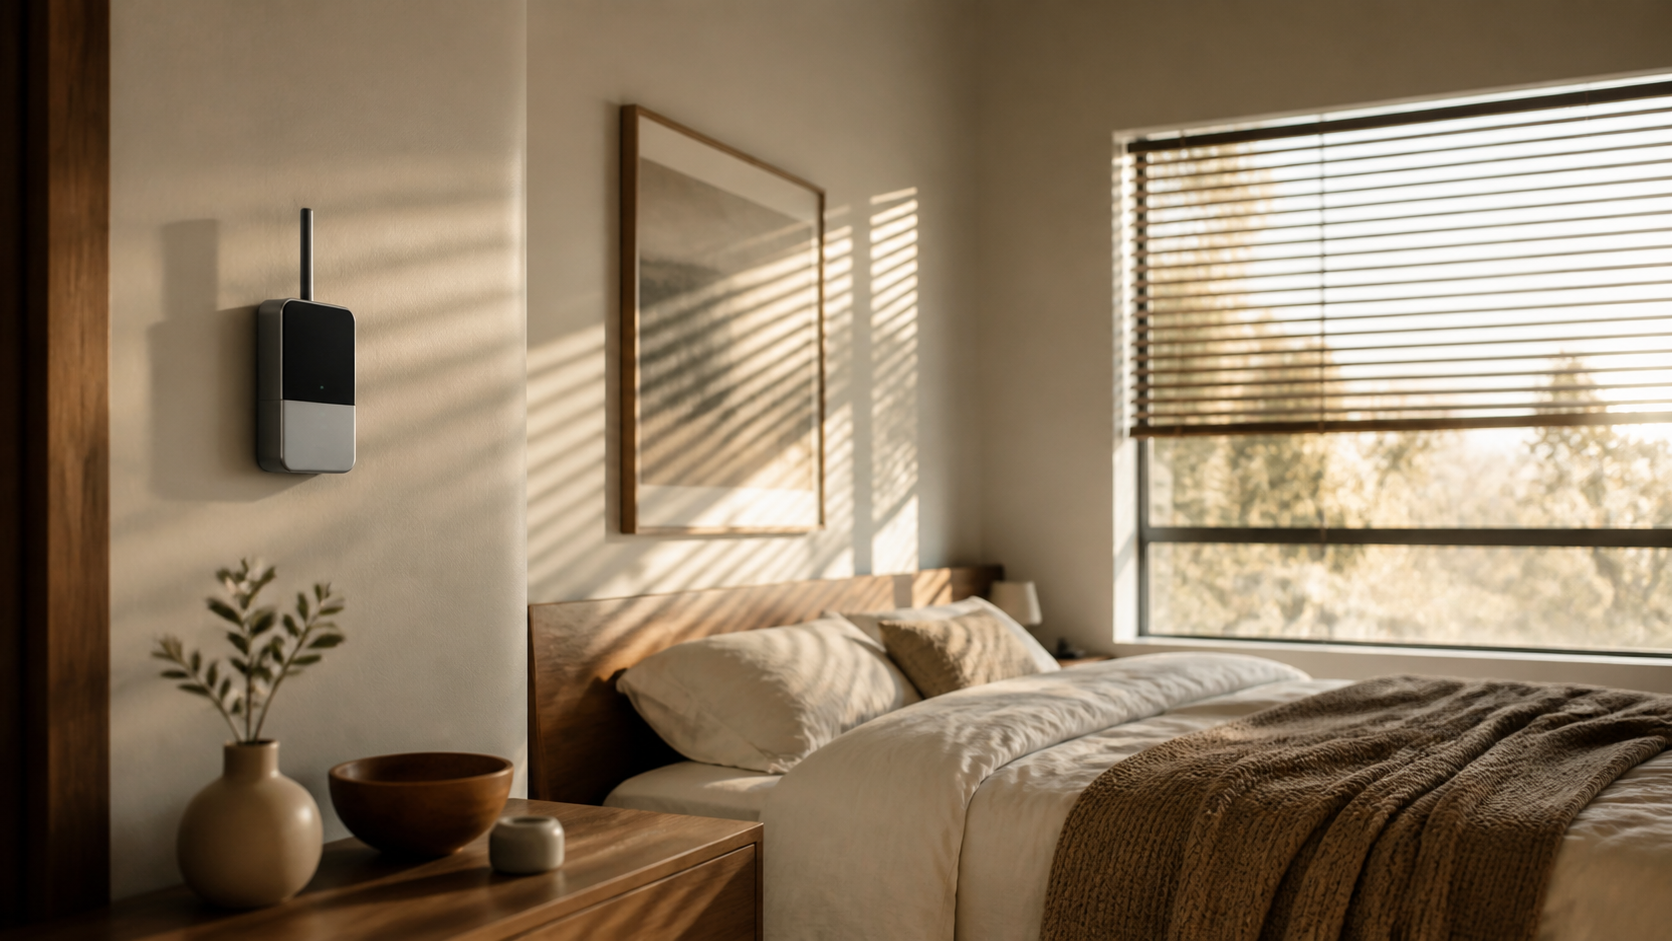
Learning how to install a Wi-Fi sprinkler controller is one of the more practical smart-home projects a homeowner can finish in an afternoon. A connected controller replaces the timer in a garage, utility room, or weatherproof outdoor cabinet, then adjusts watering through an app. The job is usually low-voltage and straightforward, but the controller may be powered by household voltage, so identifying the power source matters before a screwdriver comes out.
For most homes, the project costs $60 to $250 for hardware and takes 45 to 120 minutes. Popular choices include the eight-zone Rachio 3, often listed around $150 at Amazon, Home Depot, and Rachio; the eight-zone Orbit B-hyve XR, commonly about $130 at Lowe’s, Home Depot, and Amazon; and the Wyze Sprinkler Controller, typically $70 to $80 direct from Wyze or at Walmart. Prices move during seasonal sales, and optional weatherproof enclosures add roughly $25 to $50.
“A smart irrigation controller is only as intelligent as its zone map. Careful labeling does more for water savings than any glossy app screen.”
What Is a Wi-Fi Sprinkler Controller?
A Wi-Fi sprinkler controller is a programmable irrigation timer that connects to a home network and switches low-voltage power to individual watering zones. It can use local weather, soil type, slope, plant type, and sun exposure to alter a schedule. It does not replace valves, pipes, or sprinkler heads. Instead, it tells each existing electric valve when to open and close.
Most residential systems use 24-volt AC valve wiring. One common wire serves every valve, while a separate colored wire controls each zone. A pump start relay or master valve may have its own terminal. This arrangement makes replacement less intimidating than the bundle of wires first suggests.
Controller Comparison for an Eight-Zone Yard
| Model | Typical price | Best feature | Where to buy |
|---|---|---|---|
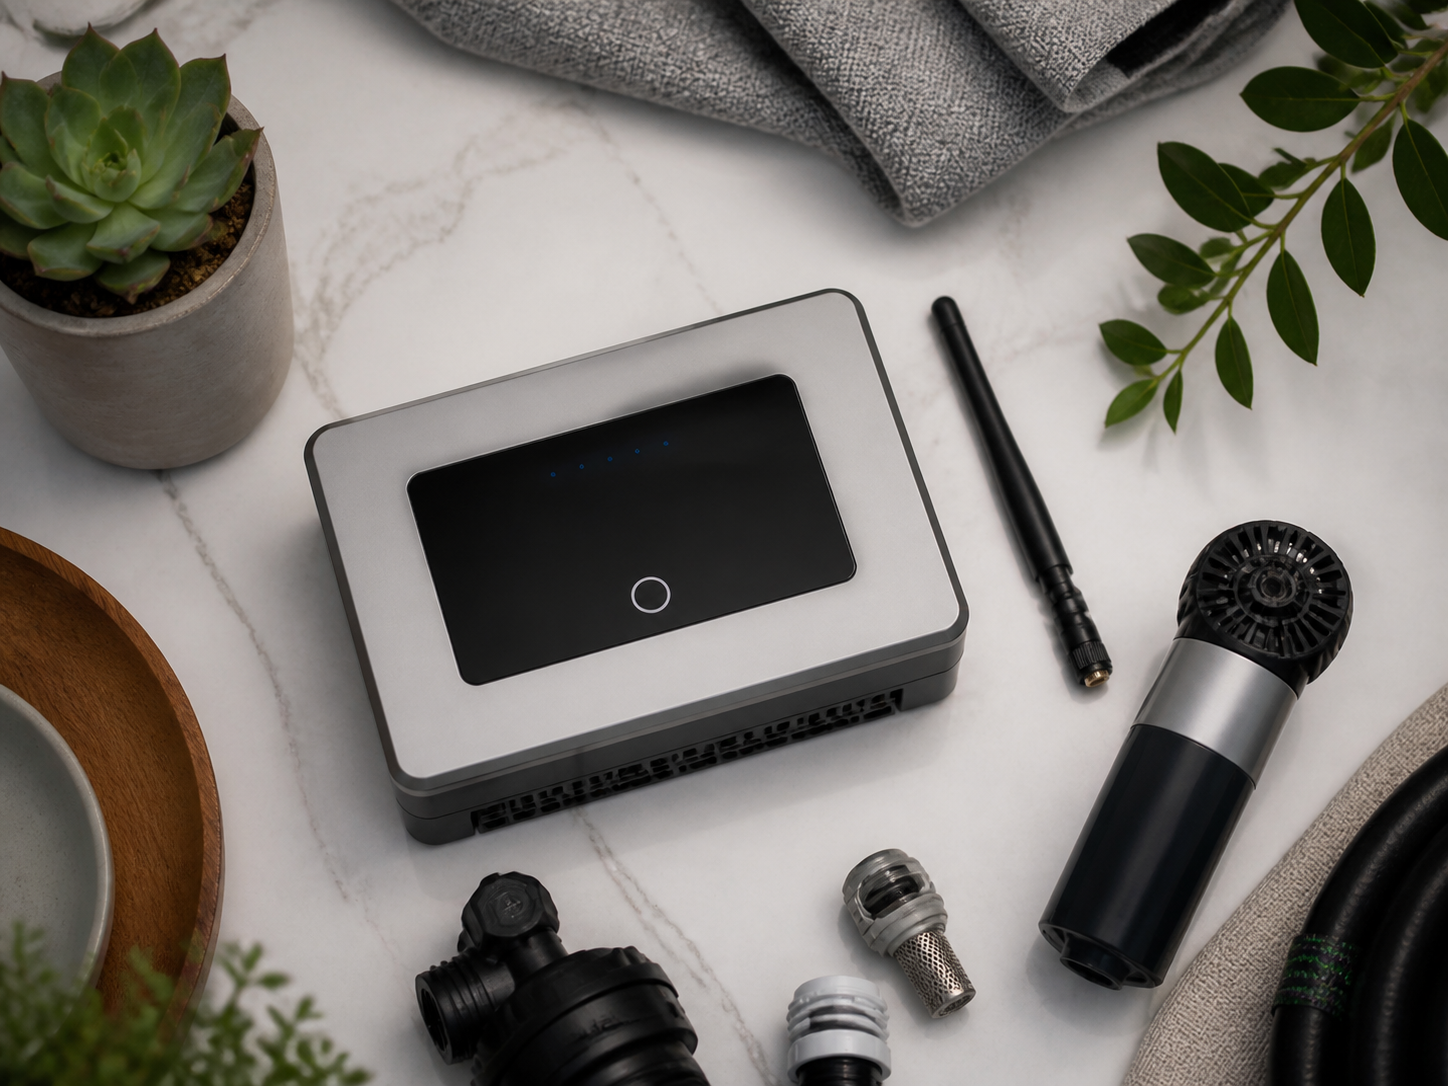
| Rachio 3 8-Zone | About $150 | Detailed Weather Intelligence scheduling | Rachio, Amazon, Home Depot |
| Orbit B-hyve XR 8-Zone | About $130 | Weather-resistant housing and on-device controls | Orbit, Lowe’s, Home Depot |
| Wyze Sprinkler Controller | About $70 to $80 | Low entry price and compact case | Wyze, Amazon, Walmart |
| Rain Bird ARC8 | About $130 to $160 | Familiar irrigation brand and simple app | Rain Bird dealers, Amazon, Home Depot |
The Rachio 3 remains the editorial pick for households that want fine control over plant and soil profiles. Orbit’s B-hyve XR is better suited to a visible garage wall because its hexagonal face and full controls look considered rather than industrial. The Wyze model makes sense for a modest yard, though some advanced scheduling features may require a subscription. Confirm current plan terms before buying.
Tools and Checks Before Installation
- Phillips and flat-head screwdrivers
- Phone camera and masking tape for wire labels
- Wire stripper, only if an end is damaged
- Drill, level, anchors, and appropriate bits
- Outdoor enclosure if the chosen model is not weather-resistant
- 2.4 GHz Wi-Fi access, since many controllers do not join a 5 GHz-only network
Run every zone from the old timer before removing it. Note which lawn bed, drip line, or planter each station serves. Repair a dead zone first because a new controller cannot fix a broken solenoid, severed cable, closed valve, or clogged nozzle.
Check the mounting location for a Wi-Fi signal. A phone showing one weak bar beside a metal cabinet is a warning. Move the router, add a mesh node, or choose an Ethernet-capable professional controller if the garage has heavy masonry walls.
How to Install a Wi-Fi Sprinkler Controller
1. Turn Off and Verify Power
Unplug a plug-in transformer. If the old controller is hardwired, switch off the correct circuit breaker and verify that the display is dark. Hardwired 120-volt connections should be handled by a licensed electrician when local rules require it or when the installer is not confident identifying line, neutral, and ground conductors. Never assume the visible irrigation wires are the only electrical connections inside the case.
2. Photograph and Label Every Wire
Take a clear, close photograph showing the old terminal names and wire colors. Label the common wire “C,” then mark zone wires 1 through 8 as applicable. Mark any wire attached to MV, P, or P/MV as the master valve or pump wire. A rain sensor may occupy SEN or S terminals.
Do not rely on color conventions. White is often common, but installers use whatever cable is available. The terminal position and a working zone test are better evidence than insulation color.
3. Disconnect and Remove the Old Timer
Loosen terminals rather than yanking wires. Keep the labels attached, remove mounting screws, and lift the old case away. Inspect exposed copper. Trim and strip a fresh 1/4 to 3/8 inch if it is blackened, corroded, or badly bent. Leave enough cable slack to reach the new terminals without tension.
4. Mount the New Controller
Use the supplied template, check the top edge with a level, and select anchors made for drywall, masonry, or studs. Avoid mounting beside a hot water heater flue, below a pipe joint, or where direct rain can enter cable openings. A controller marked for indoor use belongs indoors or inside a listed weatherproof enclosure.
5. Connect Common, Zones, and Accessories
Insert the common wire into C or COM. Connect each labeled zone wire to its matching numbered station. Put the pump or master-valve lead in MV/P, and follow the manual for rain or freeze sensors. Tug each conductor lightly to confirm it is captured. Stray copper strands should not touch neighboring terminals.
Unused wires should remain disconnected, capped if needed, and labeled for later expansion. Do not place two valve wires in one station unless the controller and transformer are rated for the combined electrical load.
6. Restore Power and Join Wi-Fi
Attach the supplied transformer or have the line-voltage feed connected as required. Install the maker’s app, create the home, and follow its pairing prompt. If pairing fails, temporarily split combined Wi-Fi bands or enable a dedicated 2.4 GHz network. Bluetooth and location permission may be required during setup even when routine control uses Wi-Fi.
7. Build an Accurate Zone Profile
Name zones by place and planting, such as “front lawn north” or “patio herb drip,” rather than leaving generic numbers. Enter sprinkler type, soil, slope, shade, and vegetation. Clay soil accepts water slowly; a steep lawn may need short soak cycles; drip irrigation typically runs longer than spray heads.
8. Test Before Enabling Automatic Schedules
Run each zone for two minutes while watching the yard. Confirm the app’s zone name matches the active area and look for geysers, runoff, blocked heads, and wet pavement. Set allowed watering days and local restrictions before activating weather-based scheduling.
Installation Cost: DIY vs Professional
| Approach | Typical total | Good fit |
|---|---|---|
| DIY with existing plug-in timer | $70 to $200 | Clearly labeled, working low-voltage system |
| DIY with enclosure or Wi-Fi extender | $120 to $300 | Outdoor wall or weak garage signal |
| Irrigation technician installation | $200 to $500 | Unknown wiring, bad valves, pump relay, or many zones |
| Electrician plus irrigation technician | $350 to $750+ | New outlet, hardwired supply, or code corrections |
A professional visit costs more but can expose waste that software cannot see. A mismatched nozzle or leaking valve may use far more water than schedule adjustments save. Ask whether the quoted service includes valve testing, flow checks, controller programming, and removal of the old unit.
Common Setup Problems
No zones run: Check the common wire, transformer connection, and any controller fuse. If one zone fails, swap its station temporarily with a working zone. If the fault follows the wire, inspect the field wiring or solenoid.
The app says offline: Confirm 2.4 GHz support, recheck the Wi-Fi password, and test signal strength at the controller. Metal outdoor boxes can weaken radio reception.
Watering runs during rain: Confirm weather adjustment is enabled, the address is correct, and the rain sensor bypass is not active. Forecast-based skips are not instant rain detectors, so a physical sensor still has value.
Programs overlap: Delete old fixed schedules before turning on adaptive watering. More schedules do not produce a healthier lawn; they often produce runoff.
Questions and Answers
Can I install a smart sprinkler controller myself?
Yes, if the existing controller uses a plug-in transformer, the valve wires are identifiable, and the irrigation system already works. Hire a professional for hardwired household voltage, pump controls, damaged wiring, or requirements you do not recognize.
Will a smart controller work with old sprinkler valves?
Usually. Most residential controllers work with standard 24-volt AC solenoid valves. Check voltage, station count, pump requirements, and sensor compatibility in both manuals.
Does it need Wi-Fi to water the yard?
Most models keep stored schedules and can water during a temporary internet outage. Weather updates, remote changes, alerts, and app access may pause until service returns.
How much water can it save?
Savings depend on the old schedule, climate, plant choices, and irrigation condition. The largest gains tend to come from replacing fixed daily watering with seasonal adjustment, rain skips, cycle-and-soak timing, and repairs found during zone testing.
Should I choose Rachio, Orbit, Wyze, or Rain Bird?
Choose Rachio for detailed app-led scheduling, Orbit for outdoor-ready hardware and physical controls, Wyze for a lower purchase price, and Rain Bird for familiar dealer support. Match the zone count first, then compare enclosure rating, subscriptions, sensor support, and local utility rebates.
The Final Check
The best installation ends with less irrigation, not simply more phone controls. Photograph the finished terminals, save the zone map, test monthly during watering season, and inspect the yard after every major schedule change. With accurate labels and sensible soil settings, a Wi-Fi controller can make an aging sprinkler system easier to supervise while keeping its hardware mostly intact.