Ask homeowners what they would change about a new build and the answers usually start with storage, outlets, lighting, and wiring. The regret is rarely one flashy gadget. It is the quiet infrastructure that should have gone behind the walls before the drywall crew arrived.
The best answer to “what is the one thing you regret not adding to your new build home” is a future-ready low-voltage and power plan. That means Ethernet runs, extra outlets, smart lighting prep, security wiring, ceiling speaker paths, motorized shade power, and a dedicated smart home hub location. It sounds less glamorous than a marble island, but it affects how the home feels every day.
Once a house is finished, adding these upgrades costs more and creates mess. During construction, many of them are inexpensive line items. The smartest new build homes treat wiring, power, and control points as part of the design brief, right next to flooring and cabinetry.
The One Upgrade Worth Fighting For: Smart Home Infrastructure
If you can add only one thing before closing up the walls, make it structured wiring with thoughtful power placement. A modern home has more connected devices than most floor plans acknowledge. TVs, access points, cameras, doorbells, thermostats, shades, speakers, workstations, chargers, and appliances all need either power, data, or both.
Wi-Fi is excellent, but it should not carry every job in the house. Hardwired Ethernet gives you faster, more stable connections for home offices, media rooms, gaming spaces, security cameras, and wireless access points. It also reduces the number of devices competing for wireless bandwidth.
A good setup usually starts with a central network cabinet in a closet, utility room, or mechanical space. From there, you can run Cat6 or Cat6A cable to important rooms, ceiling access point locations, exterior camera positions, and entertainment zones. Add conduit where future changes are likely, especially from the attic to the network cabinet and from media walls to equipment locations.
Why New Build Regret Shows Up After Move-In
During a build, buyers are often asked to choose visible finishes first. Tile, counters, faucets, pendant lights, cabinet pulls, and paint colors are easier to imagine than data drops. The problem is that invisible infrastructure becomes very visible when it is missing.
A beautiful living room feels compromised when the TV has dangling cables. A home office feels unfinished when video calls stutter because the router is two floors away. A luxury bedroom feels less polished when smart shades need visible plug-in cords because no one planned low-voltage power near the windows.
The regret is also financial. A Cat6 drop that might cost $150 to $300 during construction can cost $400 to $900 after move-in, depending on wall access and finish work. Adding an outlet behind a wall-mounted TV is simple before drywall and annoying later. Multiply that by several rooms and the savings become obvious.
What to Add Before Drywall
The goal is not to turn every new build into a gadget showroom. The goal is to give the home options. Start with the rooms where people actually live: kitchen, living room, bedrooms, office, garage, patio, and entry points.
| Upgrade | Typical pre-drywall cost | Why it matters | Best locations |
|---|---|---|---|
| Cat6 Ethernet run | $150 to $300 per drop | Stable data for TVs, offices, access points, and hubs | Office, media walls, ceilings, bedrooms |
| 20 amp outlet circuit | $250 to $600 | Supports demanding equipment and workshop tools | Garage, office, utility room |
| Outlet behind wall TV | $100 to $250 | Hides cords and keeps media walls clean | Living room, bedrooms, bonus room |
| Conduit with pull string | $200 to $700 per route | Makes future cable upgrades easier | Network closet to attic, TV wall to cabinet |
| Prewire for cameras | $150 to $350 per point | Cleaner, more reliable than battery cameras | Front door, driveway, patio, side gates |
| Shade power prep | $200 to $500 per window | Allows quiet motorized shades without visible cords | Large windows, bedrooms, south-facing glass |
Prices vary by builder, electrician, and region, but the pattern is consistent. Anything inside the wall is cheaper before the wall is finished. If your builder offers a design center appointment, bring a separate low-voltage checklist instead of relying on the standard package.
The Products That Make the Infrastructure Pay Off
Once the wiring is in place, you can choose devices that look better and behave better. Wired access points beat a single router hidden in a cabinet. PoE cameras avoid battery charging. Smart switches give you control without filling every lamp with a smart bulb.
Networking: Ubiquiti, Eero, and TP-Link Omada
For a polished whole-home network, Ubiquiti UniFi is a favorite among homeowners who want more control. The Ubiquiti Dream Machine Special Edition costs about $499 at ui.com and works as a router, controller, and PoE switch for smaller homes. Pair it with UniFi U6+ access points at about $129 each or UniFi U7 Pro access points at about $189 each for Wi-Fi 7 coverage.
If you want something simpler, the Eero Max 7 costs about $599.99 per unit at Amazon and Best Buy. It is easy to manage and works well for families who do not want a network dashboard full of settings. TP-Link Omada sits between those approaches, with the ER605 router around $60, OC200 controller around $100, and EAP670 access points around $150 at Amazon and B&H Photo.
Smart Lighting: Lutron Caseta and Inovelli
Lighting is where smart homes either feel elegant or irritating. Lutron Caseta remains the safest recommendation because it is dependable, fast, and friendly to guests. A Lutron Caseta Diva Smart Dimmer starter kit is usually about $119.95 at Amazon, Home Depot, and Lowe’s.
For homes using Z-Wave or Matter-focused systems, Inovelli switches are more enthusiast-friendly. The Inovelli White Series Matter smart switch is around $50, while the Blue Series Zigbee switch is about $50 to $55 at inovelli.com. These switches support scene control, notification LEDs, and flexible wiring options.
Security: Reolink, Ring, and UniFi Protect
If you prewire for PoE cameras, Reolink gives strong value. The Reolink RLC-811A 4K PoE camera is commonly priced around $90 to $110 at Amazon and reolink.com. It records locally with the right NVR and avoids recurring cloud fees.
Ring is easier for many households, especially if you already use Alexa. The Ring Battery Doorbell Pro is about $229.99, while the Ring Video Doorbell Wired is often around $64.99. For a more integrated wired system, UniFi Protect cameras such as the G5 Bullet cost about $129, while the G5 Pro is about $379.
Shades: Lutron Serena and SmartWings
Large windows are beautiful until afternoon sun turns the living room into a greenhouse. Lutron Serena shades start around $600 to $900 per window depending on size and fabric. They are expensive, but they look refined and work beautifully with Caseta and RadioRA systems.
SmartWings is a more budget-conscious option, often ranging from $250 to $500 per window. You can order motors for Matter, Thread, Zigbee, Z-Wave, or HomeKit depending on your setup. If you add power wiring during construction, you can skip the visible charger routine later.
Best Smart Home Hubs for a New Build
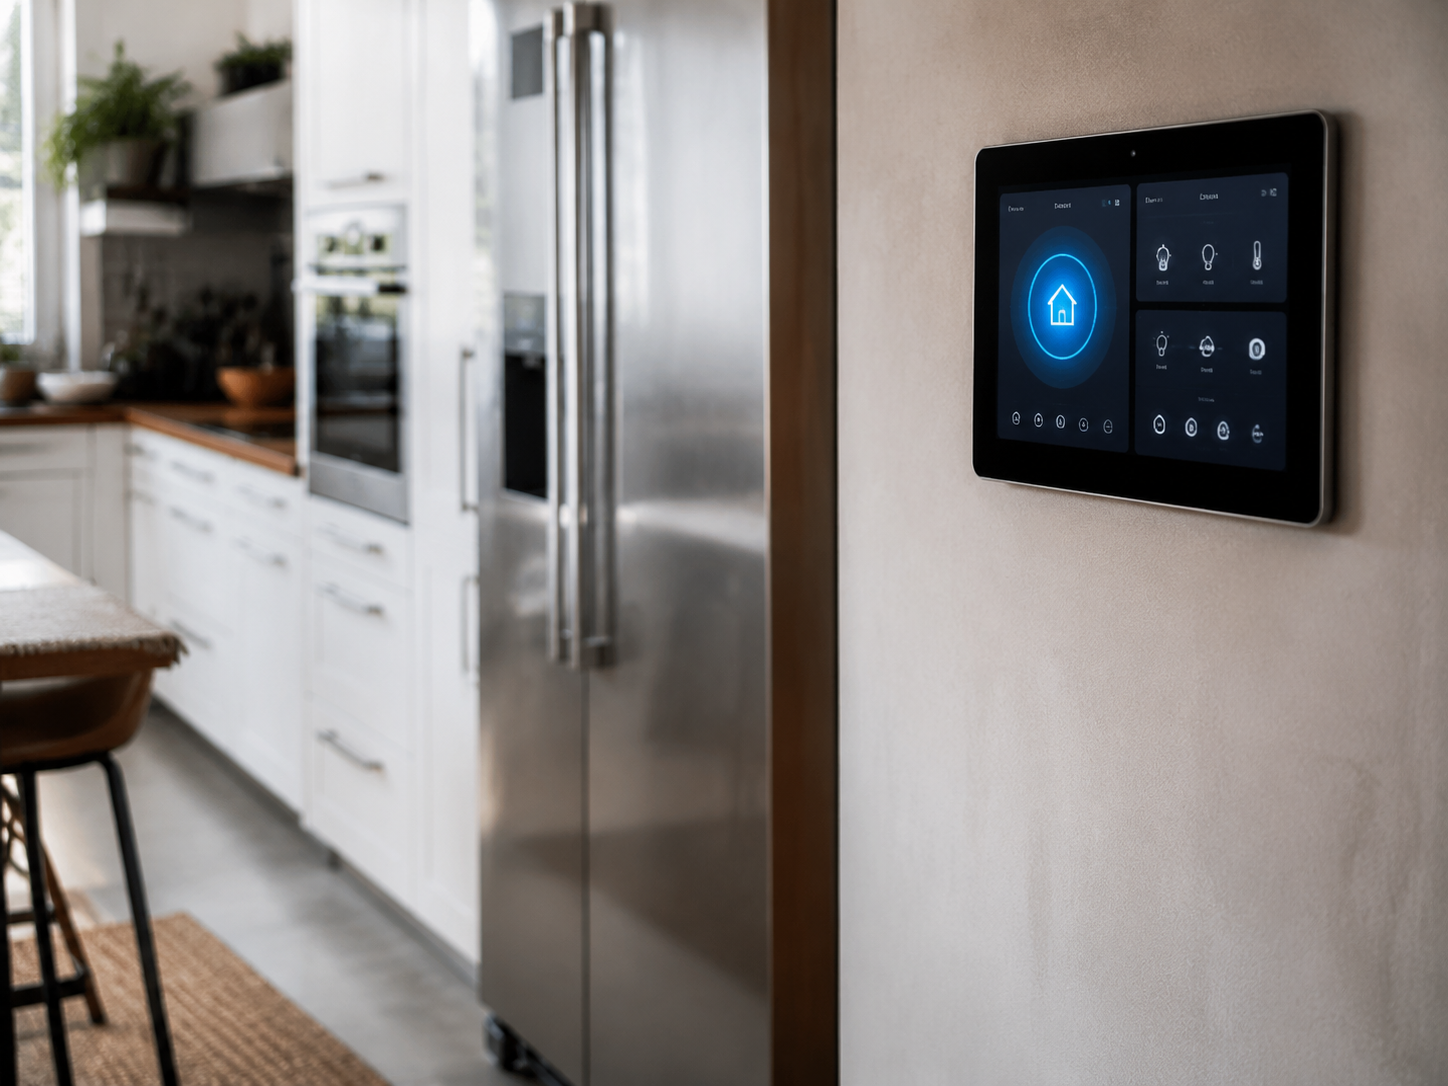
A new build should not depend on one phone app per device. Choose a control layer early, then buy products that fit it. Apple Home, Google Home, Amazon Alexa, SmartThings, Hubitat, and Home Assistant can all work, but they appeal to different households.
| Hub or platform | Approx. price | Best for | Where to buy |
|---|---|---|---|
| Apple HomePod mini | $99 | Apple homes, Matter, Thread, voice control | Apple, Best Buy, Target |
| Amazon Echo Hub | $179.99 | Wall-mounted Alexa smart home control | Amazon, Best Buy |
| Samsung SmartThings Station | $79.99 | Simple Matter and SmartThings automation | Samsung, Amazon |
| Hubitat Elevation C-8 Pro | $199.95 | Local control, Z-Wave, Zigbee, advanced rules | hubitat.com |
| Home Assistant Green | $99 | Power users who want deep customization | home-assistant.io, Seeed Studio |
If you are building from scratch, I would plan around Matter and Thread where possible, but I would not buy only for the logo on the box. Lutron, Ubiquiti, Reolink, and other mature systems often outperform newer multi-standard devices because they have been refined over years. The best smart home is not the one with the most devices. It is the one that works without constant attention.
Room-by-Room New Build Checklist
In the home office, add two Ethernet drops, extra outlets, and a dedicated circuit if you use multiple monitors, a desktop PC, or audio equipment. Put one outlet above desk height if you want a cleaner workstation. If the room may become a bedroom later, keep the layout flexible.
In the living room, plan the TV wall before framing is finished. Add a recessed outlet, conduit to a media cabinet, Ethernet, and speaker wire if you want a soundbar-free setup. Sonos Amp costs about $699 and can power in-ceiling speakers for a cleaner look than visible surround speakers.
In the kitchen, add outlets inside appliance garages, the pantry, and any coffee station zone. Smart plugs are useful, but they are ugly when they sit in the open. A well-placed outlet is still the best smart home accessory.
In the garage, add a 20 amp circuit, ceiling outlet for a garage door opener or lift, Ethernet for a camera or access point, and EV charger conduit even if you do not own an electric car. A Tesla Universal Wall Connector is about $580, while the ChargePoint Home Flex is about $549. Planning the route now can save a painful retrofit later.
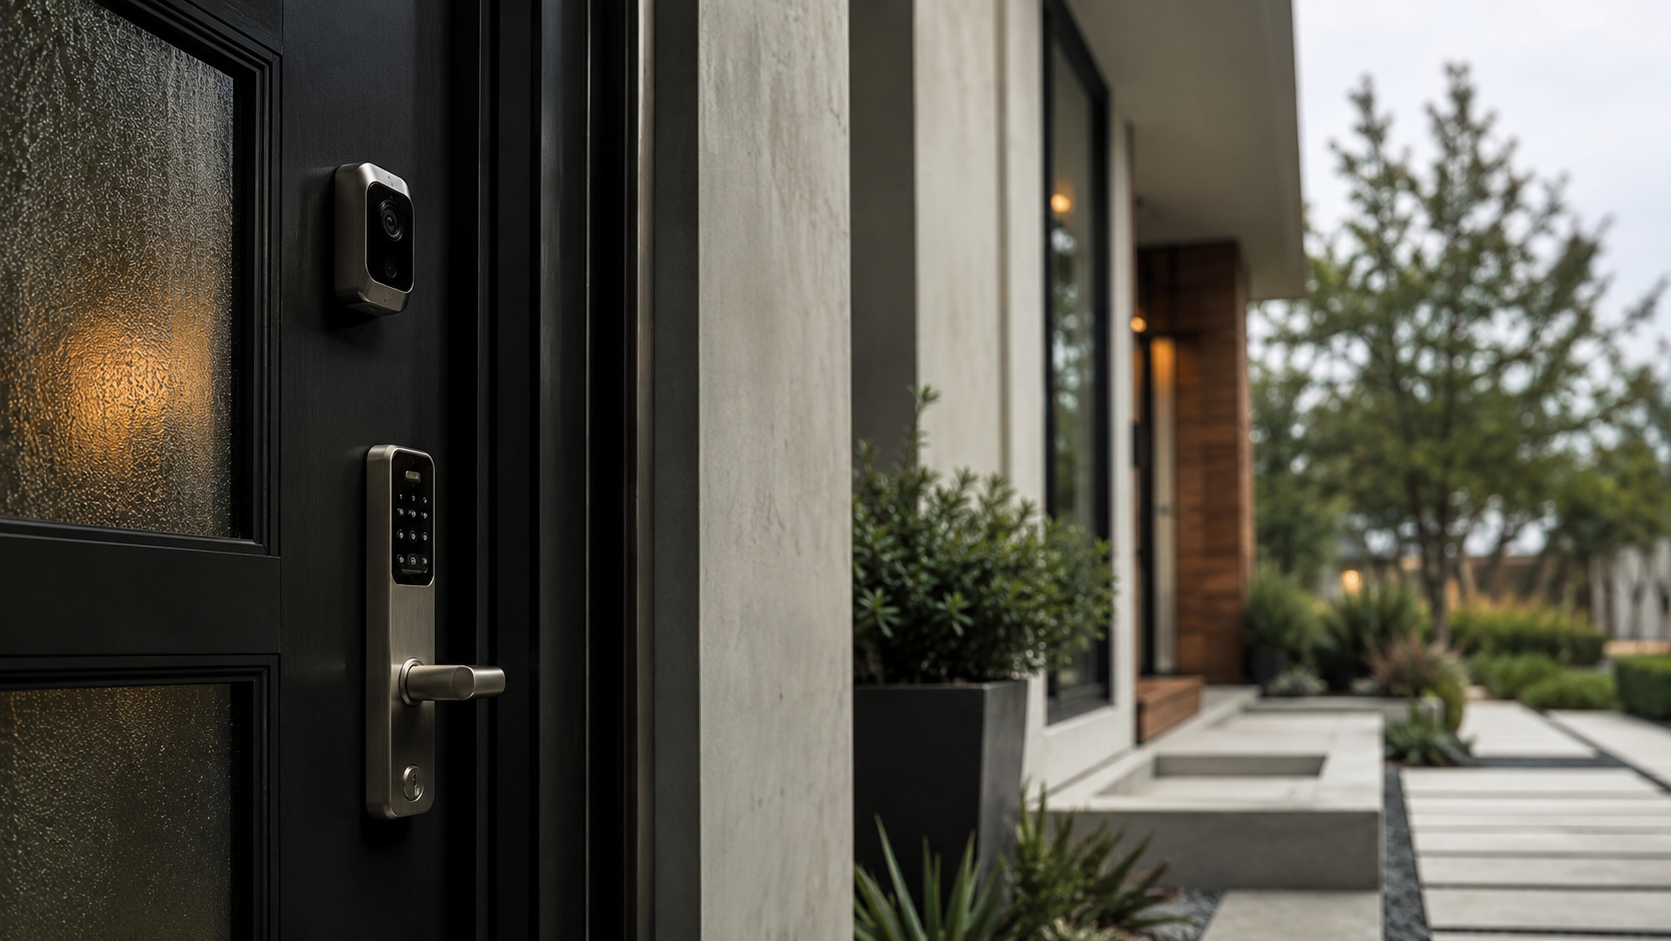
At exterior doors, prewire for a video doorbell and consider Ethernet for PoE cameras. For locks, the Schlage Encode Plus costs about $319 and works with Apple Home Key, Alexa, and Google Assistant. The Yale Assure Lock 2 is often $159 to $289 depending on module and keypad style.
What I Would Skip or Delay
Not every smart upgrade belongs in the construction budget. Smart refrigerators, touch-screen ovens, and app-connected faucets can date quickly. They are expensive to replace and often less useful than the marketing suggests.
I would also avoid locking the entire house into one proprietary dealer system unless you understand the service costs. Control4, Savant, and similar platforms can be excellent for large luxury homes, but they are not always ideal for owners who want to adjust scenes and automations themselves. Ask who can service the system, what happens if you switch installers, and how much future programming changes cost.
The Practical Budget
For a typical new build, a smart infrastructure budget of $3,000 to $8,000 can cover a strong foundation. That might include 12 to 20 Ethernet drops, several ceiling access point runs, TV-wall conduit, prewire for cameras, and extra outlets in high-value places. Larger homes, extensive shade wiring, speakers, or a full PoE camera system can push the number higher.
If the budget is tight, prioritize conduit, Ethernet, outlet placement, and panel capacity. Devices can be purchased later. Closed walls are harder to revisit.
Bottom Line
The one thing many owners regret not adding to a new build home is not a single gadget. It is the wiring and power plan that lets the home adapt. A few smart decisions before drywall can make every later upgrade cleaner, cheaper, and more reliable.
Ask for structured wiring, extra outlets, conduit, camera prewire, shade power where it matters, and a real network location. Then choose devices from brands such as Ubiquiti, Lutron, Reolink, Schlage, SmartWings, and Hubitat based on how you actually live. The result is a home that feels designed, not patched together after move-in.